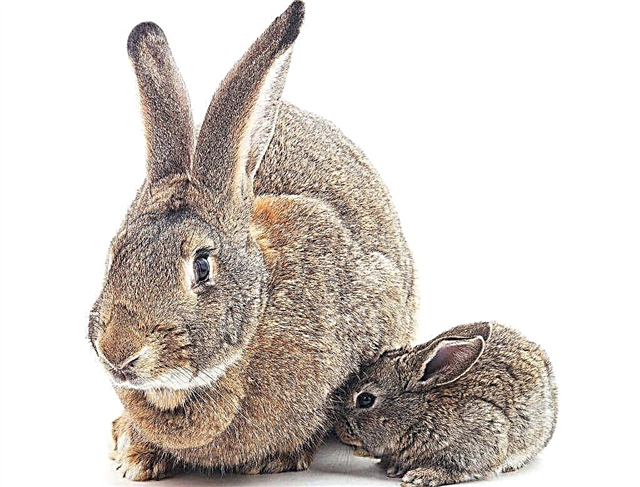
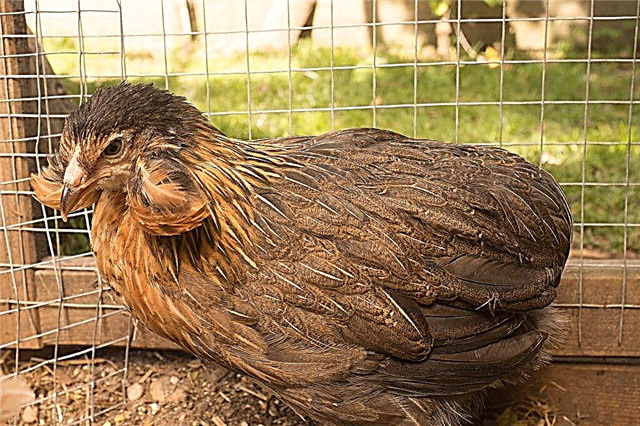
Rabbit breeding is quite a lucrative business. These animals are highly regarded not only among gourmets for the excellent taste of meat, but are also a source of quality fur. The processing of rabbit skins is an important stage in the preparation of raw materials for further processing.

DIY rabbit skin dressing
It is far from always possible to find a bunny specialist, besides, such a service costs a lot, so many farmers wonder how to make a rabbit skin at home on their own.
The process of obtaining raw fur
To be able to make the most of the products obtained after slaughtering rabbits, the skin must be properly skinned. Most often, to obtain high-quality fur, breeds of a certain orientation with a thick long pile are used: chinchilla, white giant, etc.
Young rabbits 6-8 months old are best suited for high quality pelts. Individuals should weigh between 3 and 5 kg. Slaughter is planned for the end of the moulting season, when the rabbits have completely changed their old hair. The season falls on the period from November to March.
The duration of the molting process will depend on the breed characteristics and the correctness of the content, therefore it is important to know how to determine the end of the molting season visually. When the process of shedding wool is not over yet, under the main coat of hair, an undercoat is visible, and the long hairs themselves are easily pulled out. It is very important to properly handle the carcass during skinning in order to obtain quality material.
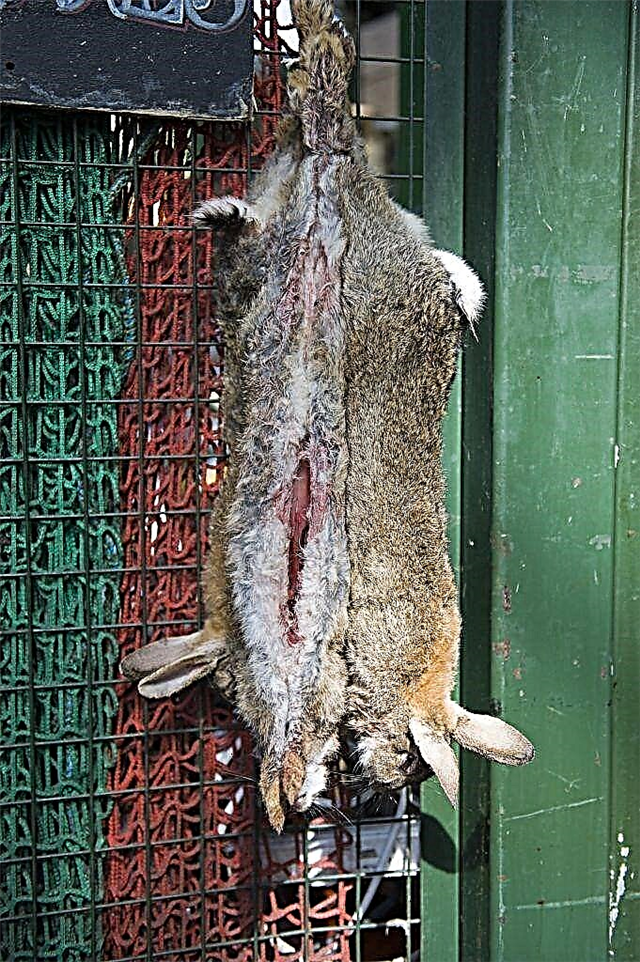
Often, the skin is removed using the stocking method, for which the hammered rabbit is tied upside down to a stick and fresh, starting from the tail and moving towards the head. Initially, incisions are made in the articular parts. After the tail, ears, paws are cut off, then they begin to pull the skin down. Don't stretch the skin too much, otherwise some of the fur will crumble.
All raw materials are laid out in piles, sorting the skins by size. Weigh each stack. Such sorting is necessary in order to accurately calculate in what proportions the chemicals should be mixed. The skinning of a wild hare will be carried out according to the same principle as for a domestic rabbit.
Features of fur raw materials
Rabbit and hare bakhtarma has such structural features that create a lot of interference in the processing of the skin, which is why the process of dressing the skins takes so much time. Rabbit flesh is, in fact, a series of dense films, firmly connected to each other. It is simply impossible to separate them during primary processing by scraping. At the first stage, it will be possible to remove only the remnants of flesh and fat.
Before making rabbit skins with your own hands, you need to learn more about the structural features of the animal's skin, prepare the appropriate equipment and antiseptic mixtures for processing.
It is important to remember that the wringing of the skins during soaking is carried out by hand in the direction of the growth of the hairline and in no case by twisting. Curling will damage the hairs and tear the skin.
The first stage of processing
Making rabbit skins at home will require special care. Rules and regulations must be followed unswervingly. In advance, you should prepare:
- chemical substances;
- salt;
- well sharpened knives.
Few people immediately succeed in doing everything perfectly accurately and getting a properly skinned hide. At the initial stage of processing, immediately after the slaughter of the animal, the skin is attached to a wooden board and the remains of flesh and fat are cleaned off. The blade must be kept at a 90 ° angle to the abrasion material at all times and moved from the bottom to the head.
It is permissible to remove the remnants of the flesh by hand, collecting them in layers around. It is important to carry out all the manipulations when the skin is still warm: if it dries up, it will be much more difficult to scrape off the remaining flesh.

Stages of processing rabbit skin
If the plans do not include dressing rabbit skins right away, you need to preserve them, and then pull them on specially prepared rules - A-shaped wooden boards. A horizontally placed block should be removable and easy to move. The bottom of the hide must be tucked in, otherwise it will turn up, and the fur will come out in this place. It is strictly forbidden to leave raw materials unfolded even for one day, otherwise it will rust and rot. Cold storage will also negatively affect the quality of raw materials.
After the skin is stretched over the ruler, it is placed in a well-ventilated place. The temperature regime in the room should be 30 ° C. At elevated temperatures, the raw material will dry out too much and become brittle, lower temperatures will provoke mold.
Crafted rabbit skins do not need to be stored for a long time so that they are not eaten by moths. If a lot of skins are required to make a large product, they are stored in a hermetically sealed box with special herbal formulations from moths in a well-ventilated area.
Antiseptic stage
Rabbit skin processing goes through several stages. All actions must be performed in the appropriate sequence. The cut rabbit skins are placed in a chemical soaking solution. For 1 liter of water add 30 g of borax, 2 g of carbolic acid and 50 g of sodium chloride. You can use furacilin.
The skins are soaked in a glass or enamel container. To prevent the raw materials from floating up, a weight is placed on it. The skins should be covered with water for 2 fingers. For a complete antiseptic treatment, it is necessary to mix the raw materials regularly. The whole process can take from 6 hours to 4 days.
Recently canned hides can be processed much faster than those that have been improperly cleaned or too dry. There are 2 parameters by which you can determine that the soaking process was completed successfully:
- the hairline is tightly held in the skin;
- The flesh is elastic and lends itself well to mechanical stress anywhere.
Fleshing stage
After the skins have been antiseptic, they must be squeezed out thoroughly. Now you can proceed to the fleshing stage - the removal of the inner layers of the dermis and its loosening in order to ensure a more thorough treatment with antiseptics in the future. From the inner surface with a sharp knife, the remains of flesh and fat are removed.
After part of the inner layer of the dermis has been removed, the remaining flesh is broken from the tail to the head with the blunt side of the knife. At this stage, you should do your job very carefully. Overdoing it too much, you can expose the rhizomes of the hair follicles on the inside or not thoroughly process the treatment. The video shows the whole process in detail.
Dressing rabbit skins at home
Dressing rabbit skins at home
Dressing rabbit skins at home
skinning is the easiest way!
Dressing of rabbit skins. Degreasing and pickling
How to learn how to make rabbit skins at home?
Dressing rabbit skins at home
Rabbit skin dressing // Life in the village !!!
Tanning | Fur dressing. 2017
After the cleaning step, the rabbit skin must be thoroughly washed and degreased. For degreasing, use washing powder: 4 g per 1 liter of water. After washing, the flesh should squeak under the fingers and acquire a white tint. Then the skins are rinsed in clean water, after which they are placed in a soapy solution. The skins are removed from the soapy solution and rinsed again.
Pickling process
Making rabbit skins at home includes the process of strengthening - pickling. This is necessary so that after sewing things remain in their original form for a long time and do not tear. This requires treatment with a special acid-containing solution: for 1 liter of liquid 30 g of sodium chloride and 15 ml of vinegar essence.
The skins must be placed in the solution upside down and stir regularly. Processing will take at least 4 hours, maximum - a couple of days. It is better to take out the raw material a little earlier than overexpose it. You can determine that the process was successful by taking out the skin and bending it. If a white stripe appears at the fold and does not disappear after five seconds, then the material is ready for the next stage.
When the treatment is completed, the inner layer easily comes off, and hairs are easily plucked from the groin area. At the end of the process, the raw materials are taken out and folded with fur outside in piles. Weights are placed on top of the piles, this stage is called lying down. The skins should lie under the load for 12-24 hours.
Tanning stage
The technology of manufacturing rabbit skins further implies strengthening with decoctions from the bark of a tree. This manipulation makes the raw material more elastic and resilient. Ideally, use willow or willow bark. The broth is boiled for half an hour, then 40 g of salt is added to it per 1 liter of liquid.
It is worth remembering that a decoction from the bark paints the skin in a creamy color, and light fur can also be colored, so it is advisable to apply the liquid with a brush only on the inner side of the skin, and not soak it whole.
In order for the raw material to be well saturated, it is left for another day, after which it is dried on a rule, periodically stretching in different directions. When the raw material becomes velvety to the touch, but still a little damp, the inside is sanded with sandpaper to achieve the required degree of softness.
Fat stage
Further, the rabbit skin is subject to fat. This process aims to make the material more plastic. To do this, make a mixture of chicken egg yolk and glycerin. The ingredients are mixed in equal proportions.

Rabbit skins should be stored in a hermetically sealed box
The grease mixture is applied with a brush to the inside and left to lie down. After a few hours, the raw materials are kneaded, and the dermis is treated with chalk to remove excess fat. This stage is final. At the end of all work, each skin is placed in a linen bag and folded into a hermetically sealed box. It is strictly forbidden to store the skins in plastic bags.
Conclusion
Very often, rabbit breeders are faced with the question of where to find a person who can easily correct rabbit skins correctly. However, such services are not cheap at all, and there are not so many people who are well versed in this issue today. The ideal option is to learn how to make your own fur material. This will save you money and time and, moreover, will allow you to start your own skinning business. Having established the sale of fur material, you can earn good money.
Of course, not everyone will be able to perform the entire procedure perfectly correctly the first time. But, after re-reading all the material and watching the relevant videos on this topic, everything will start to work out over time. It is necessary to prepare the necessary materials in advance, sharpen the knives and prepare the appropriate room in which the cleaning will be carried out.